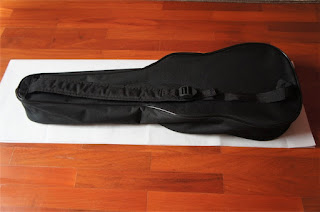
It's Thursday night! As I promised that I'd update the last episode of my handmade ukulele gig bag today, I think it isn't too late.
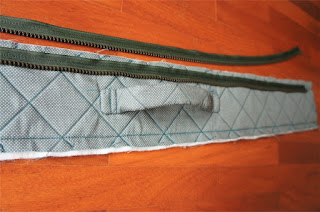
Okay, last time, I finished only one side piece. Let's start the other piece then. This one will be attached with zipper, so its width must be a little narrower. You may need to measure the width of zipper that you would like to make it visible for outside. Then make sure that the total width of visible zipper and the side fabric is equal to the width of the other side, which we already finished it last time.
Attach a handle.
Unzip and sew one side on the fabric. Be careful on this step if it will be zipped up or zipped down when the work is finish.
Assemble and sew it. Then cut down unwanted fabric.
Now, I will prepare the front piece of gig bag. Again, quilt the top fabric, fleece, and lining fabric together. I cut a thin PVC leather as a rectangular, fold one side, and stitch on it. This will be a flat pocket.
Sew this front piece together with the bag. Do not sew the part that we will attach the zipper yet.
Attach the zipper
Cover all fringes & joints with bias tape.
Reverse the bag inside out. Tear all tracing papers.
Prepare the strap.
, and finally... it's my gig bag!
Any comment or advise is very welcome :)
Thanks for visiting.


