
I've just finished my ukulele bag project today and want to share it here. It took me about a month to finish since I have a full-time job and cannot do any much progress on each day. This is actually my second work since I bought a new sewing machine. It was not easy and not too hard to make it at the same time :P
I put all the steps here. If you have any question, please feel free to let me know.
First, I used my own typical ukulele bag as a prototype by putting it on tracing paper and drawing.


Prepare the top fabric and fleece. Then quilt.


Put the wrong sides of top and lining pieces together. The tracing paper is on top of them. I roughly cut along the trace & the top piece to make it easier when sewing.


Prepare parts of straps (not sure how to say in English)
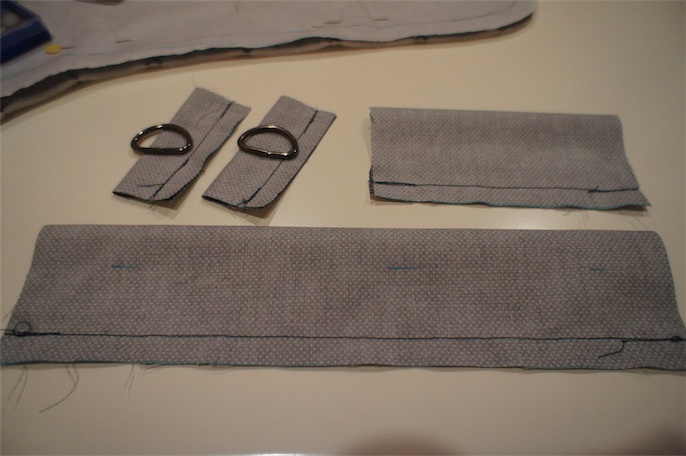

Sew it to only top piece.


Then assemble all pieces together : tracing paper, top, lining, and sew along the trace.

Put it aside. We will make the side parts of the bag, one with & another one without zipper. For the one without zipper, prepare the top fabric & fleece. Quilt.

Sew it with the lining fabric.

The one with zipper must be narrower, and we need to make sure that the total length of side parts will be a little greater than the peripheral of the bag.
Make & put a handle on the zipper one.

Sew the zipper on it.

Prepare a rope bias tape.

Assemble the back piece, rope tape, and side piece without zipper together and sew.


..
I gotta go.. and will not be able to finish this post in next 2 days. I promise that I will come back on Thu with the complete topic. Thanks for visiting.
Pinku Almond
No comments:
Post a Comment